Setup Scripts
Create a bash script to reliably set up your instance, allowing for easy sharing with others or creating a backup in case it encounters any unexpected issues.
Creating a .brev setup script for each Brev project will standardize dependencies, packages and tools across all developers contributing to the same project (ex. Node v14, Yarn v1.22). Brev will create a /.brev/setup.sh script in your workspace. Commit this to your repo to have it executed for every new Brev machine. You can alternatively set up the file to be saved elsewhere
The setup scripts run from your project directory, so /home/ubuntu/<YOUR_PROJECT_FOLDER_NAME>
.brev/setup.sh
This is the main configuration file that runs on your Brev machine, right after your project is cloned.
The working directory when the file is running is /home/ubuntu/<PROJECT_FOLDER_NAME>.
Careful not to place user settings in here (like VSCode extensions or settings) unless you want to impose them for every contributor in the project. Sometimes this is desireable, for example, to standardize linting practices across the team. Personal settings should go in your personal .brev, see more here: /howto/copy-personal-settings.
A log file with output from the script. It is located at ./.brev/logs/setup.log. We strongly encourage echo-ing statements into this file when installing new software to know where errors might be located.
See here for common installation snippets
Note: Brev only hands over the machine once the setup is complete. This means running an open ended process like starting a server with npm run start in your .brev setup script will appear to be infinitely loading. We're working on a fix, but for now, please do not run open ended processes in this script.
Branching your instance
You might want to experiment with instance changes without modifying the .brev/setup.sh file committed to main. You can do this easily with the brev reset command. Simply make changes to the setup script and run brev reset.
brev reset preserves your file system, including uncommited changes, while getting you a clean instance. This will run your new setup script on fresh hardware.
.brev/ports.yaml
You can specify which ports you want publicly accessible. By default, any connection to your project is password protected. Although this is secure, it prevents testing routes, connecting different services (like a backend and frontend), and publicly sharing your project.
Use this file to make your localhost url publicly accessible and share it with others. Be sure to never share your password!
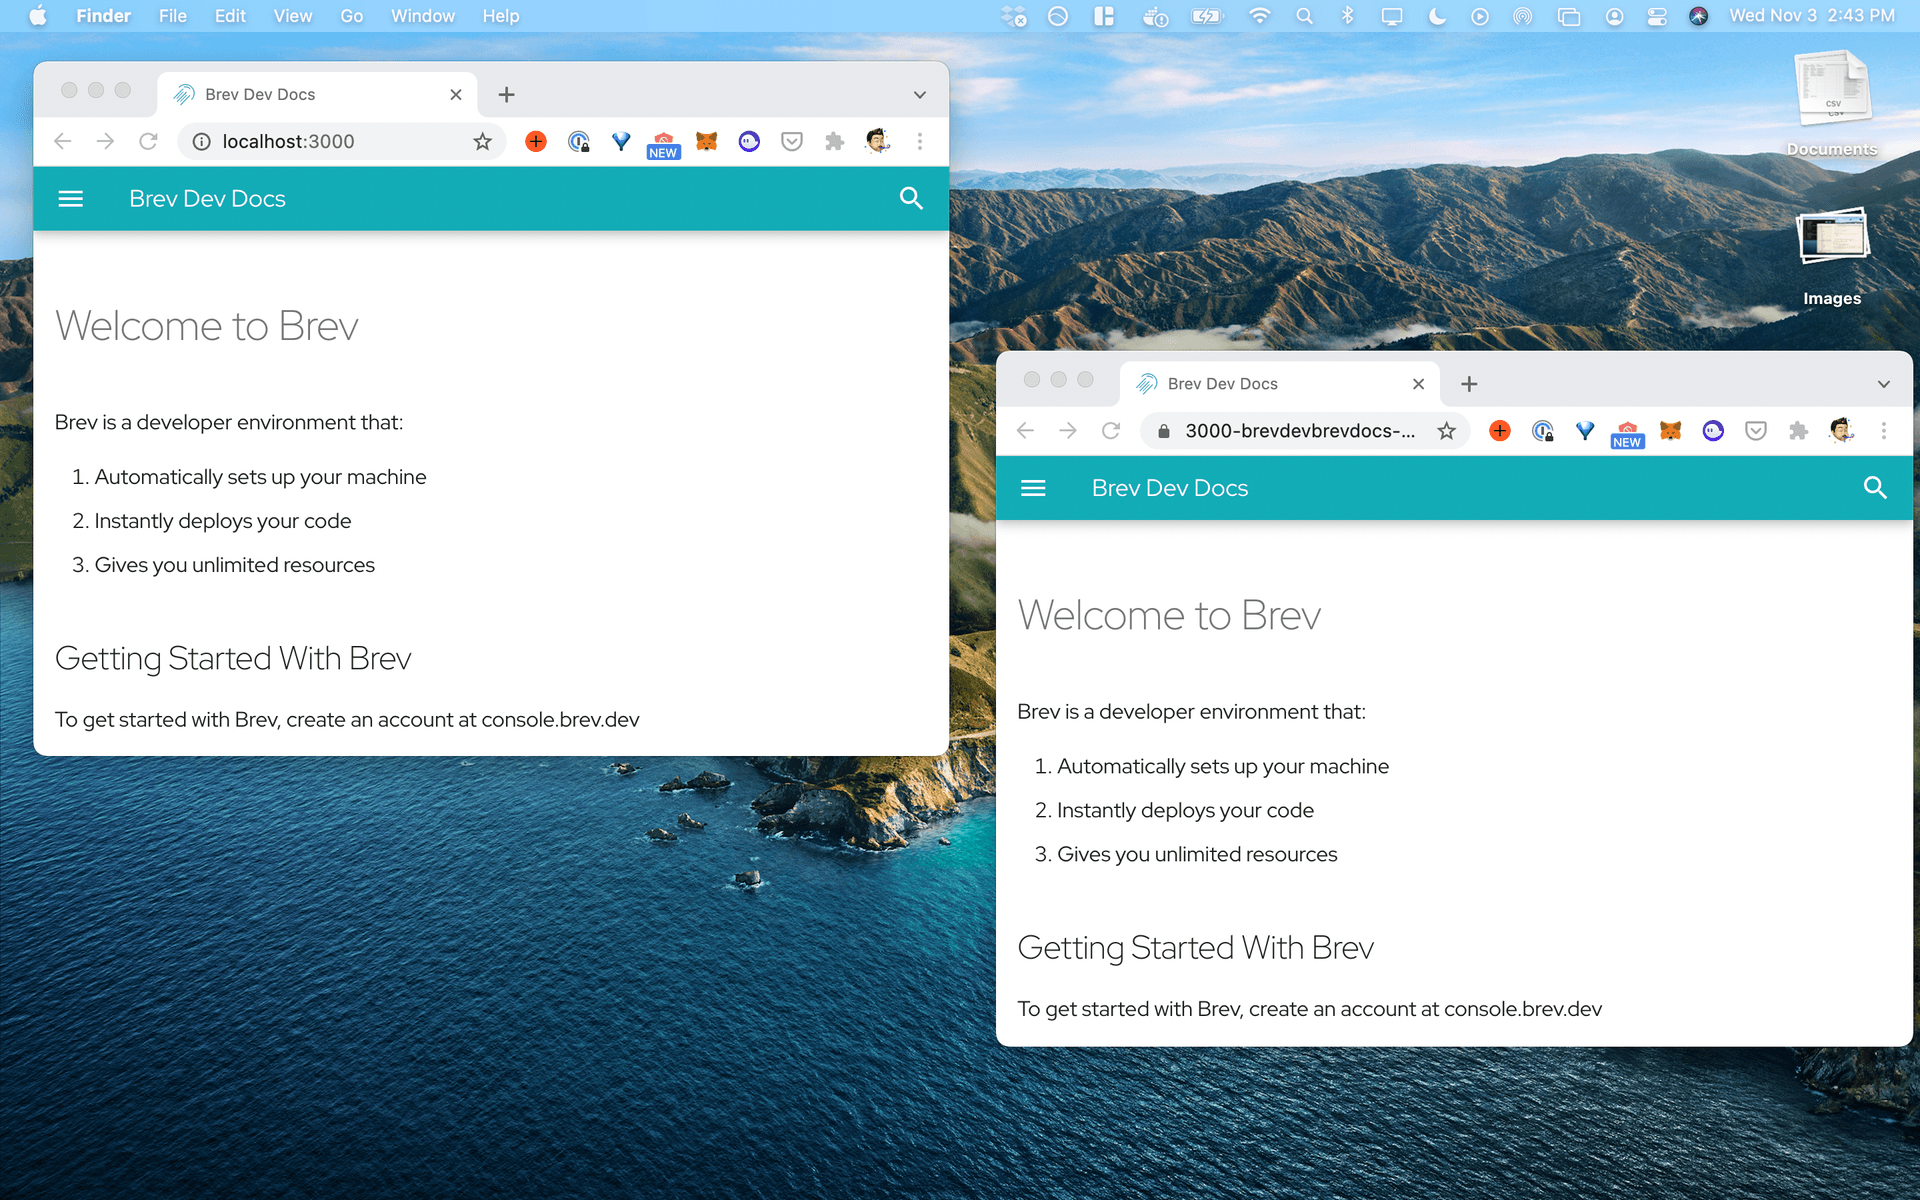
For example, if we run a React app on port 3000, we would want to expose port 3000 so we can use 3000-brevurl.brev.sh to access localhost:3000.
Note: often there's a security layer built into the code (for example, user auth) so publicly exposing a port is not a security worry. If there is a security concern with opening a port publicly, you can use the Brev CLI to port forward your Brev workspace port to your localhost. See below:

Using Docker instead of a Bash Script
You might be thinking "the world is Dockerized, why use .sh scripts?"
Well, we agree. We're working on a V2 which will replace the .sh scripts with Dockerfiles. The dockerfile can simply RUN sh setup.sh for backwards compatibility, and you can run a docker-compose line in your setup script today.